macOS 기본 터미널을 대체하는 iTerm2
iTerm2 + zsh
Homebrew 설치
1 $ /usr/bin/ruby -e "$(curl -fsSL https://raw.githubusercontent.com/Homebrew/install/master/install) "
zsh 설치
zsh 설치경로 확인
기본 shell 변경
1 $ sudo chsh -s $(which zsh)
oh-my-zsh 설치
1 $ sh -c "$(curl -fsSL https://raw.githubusercontent.com/robbyrussell/oh-my-zsh/master/tools/install.sh) "
zsh theme 적용 (dracula)
https://github.com/robbyrussell/oh-my-zsh/wiki/themes https://draculatheme.com/zsh/
1
2
~/.oh-my-zsh/themes/dracula.zsh-theme 의 경로로 테마 파일 이동. ~/.zshrc => ZSH_THEME="{테마}"
GNU ls
coreutils 설치
1 $ brew install coreutils
GNU theme clone
1 $ cd ~ && git clone https://github.com/seebi/dircolors-solarized.git ~/.dircolors-solarized
profile 추가 (~/.bash_profile or ~/.zsh_profile)
1
2
3
4
alias ls='gls --color=auto' alias dir='gdir --color=auto' alias grep='grep --color=auto' eval $(gdircolors ~/.dircolors-solarized/dircolors.ansi-dark)
1 $ source {~/.bash_profile} OR {~/.zsh_profile}
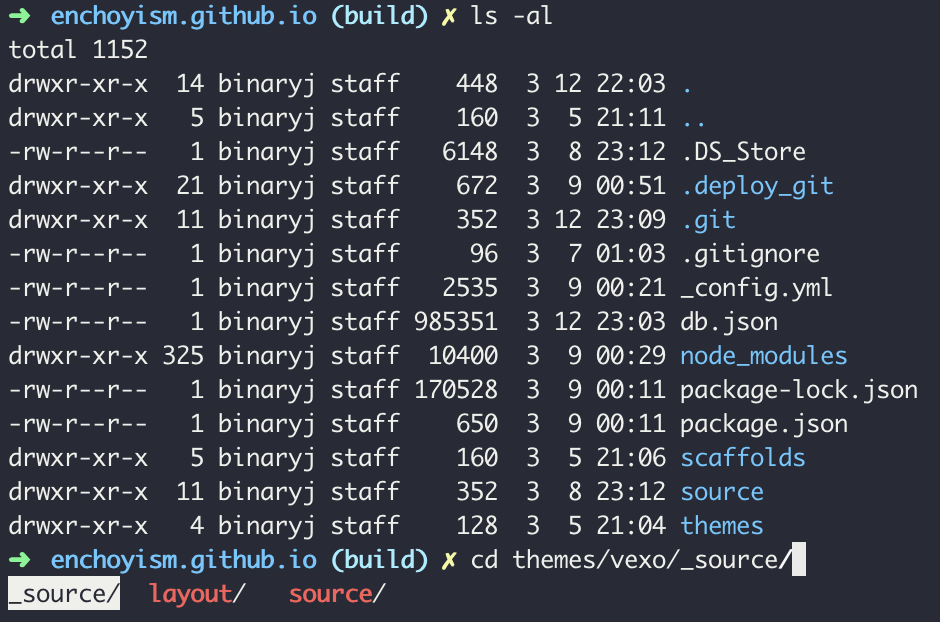
Result

